AI’s Impact on Image Creation

How to Make Images Fast with AI and Smart Design Techniques

Learn how to use AI tools to create effective visuals quickly and efficiently.


What This Guide Will Teach You (Quick Summary)

When you need images quickly, the process can feel slow or overwhelming, especially if you’re not used to design tools. This guide breaks everything down in a way that’s easy to follow.

Think of this as a behind-the-scenes look at the process I use every day. You’ll learn how each step fits together, why this workflow saves so much time, and how it helps produce images that look polished instead of rushed.

And if you ever decide you want someone to create these images for you, this will give you a good idea of the system I use to make everything fast and consistent.

What You’ll Learn in This Guide

Understanding the Fast AI Image Workflow

Let me keep this simple. When I make images fast with AI, the whole process basically comes down to a few moving parts working together. Nothing technical, just a clear flow that saves time.

Here’s the idea behind it:

● AI turns descriptions into images.
You tell it what you want, and it gives you a starting point instead of making you build everything by hand.

● ChatGPT helps shape the description.
If the idea is still rough, I run it through ChatGPT so the prompt is clearer and easier for the AI to follow.

● Gemini creates the first batch of images.
It gives me a handful of options right away, which makes choosing a direction much faster.

● The design tools take care of the small fixes.
Canva for quick adjustments, Picsart for touch-ups, and Photoshop if something needs a bit more polish.

Step 1: Clarify Your Image Concept Quickly

Person working at a desk with a laptop showing the Gemini interface, generating a 3D realistic office space image. Soft lighting and a minimalistic workspace with a cup of coffee.

Before generating anything, I take a moment to get the idea straight. It only takes a minute, but it keeps the AI from guessing and saves time later.

Here’s what I usually sort out:

● What the image is for.
A social post, blog header, or ad each needs a different kind of layout and focus, so knowing the purpose helps shape the result.

● The vibe or style.
Bright, clean, minimal, dramatic, whatever fits the project. A quick decision here makes the AI’s first try much closer to what I want.

● The setting or background.
Indoor, outdoor, simple backdrop, event setting, even a small hint about the environment helps guide the AI in the right direction.

● Basic colors or mood.
Warm, cool, neutral, just enough direction so the image feels intentional rather than random.

Step 2: Use ChatGPT to Create Better Prompts Fast

Person sitting at a desk with a laptop open to ChatGPT, creating a detailed prompt for AI image generation. Professional, modern office setting with soft lighting.

Once I know what kind of image I’m aiming for, I let ChatGPT help me with the wording.

Writing a detailed prompt from scratch can take longer than people expect, so instead of trying to phrase everything perfectly, I give ChatGPT the basic idea and let it shape it into something clearer.

Here’s why I use it:

It makes the prompt easier to understand, which helps the AI stay on track.

It naturally fills in small details, like lighting or the overall mood.

It cuts down on retries, because the first prompt is already specific enough.

For example, if someone tells me, “I need a clean image of a swinging door in a church hallway,” the idea is good, but it’s not enough for an AI tool to understand the scene. So I pass that to ChatGPT.

It usually turns it into something like: “A realistic swinging door inside a quiet church hallway with soft, warm lighting, clean walls, and a simple background.” If I feel the image needs a more polished look, I can ask ChatGPT to add things like the camera angle, the texture of the door, or the overall mood.

Step 3: Generate Fast Images with Gemini

Laptop screen showing AI image generation interface, with a person working in a cozy, modern office. Focused on creating realistic designs using AI technology.

Once the prompt is ready, I bring it into Gemini. Before pasting it, I sometimes add a small detail or two, like the lighting or the background, just to make sure the AI understands the look I’m going for.

Here’s how I usually handle this part:

● I add small details to the prompt if needed.
Simple things like “soft lighting” or “clean background” help guide the AI better.

● I paste the prompt into Gemini.
Since the prompt is already clear, Gemini knows exactly what kind of image to make.

● I choose the size or layout I need.
Square, wide, or vertical, just whatever fits where the image will be used.

● I let Gemini generate the image.
It’s quick, and the result usually comes out close to what I had in mind.

● I take that image as the base for the next steps.
It doesn’t have to be perfect yet, just solid enough to refine later using Canva, Picsart, or Photoshop.

Step 4: Enhance Your Images with Smart Design Tools

A stunning AI-generated landscape of mountains at sunset, emphasizing light, texture, and color.

Once I have the base image from Gemini, I bring it into a few design tools to clean it up and make it look more polished. The AI handles the heavy lifting, but these tools help smooth out the small things so the final image actually looks ready to use.

Here’s how each one helps:

Canva – I use this for the quick stuff.

Simple layout fixes, background adjustments, or adding text. Canva is fast, so it’s great for getting the overall look in place without doing anything complicated.

● Picsart – This is where I clean things up.

If the image needs color fixes, smoother edges, or something removed, Picsart handles those small touch-ups easily. It’s also useful for adjusting shadows or highlights when the AI didn’t get them right.

Photoshop – I only use this when I need a really polished finish.

Things like lighting fixes, texture work, or fine details that need precision. Not every project needs Photoshop, but it’s helpful when I want the image to look extra clean and professional.

Visual Workflow: From Prompt to Final Image

Creating high-quality images quickly is all about having a clear process. First, I take the idea and break it down into a detailed prompt.

Once the prompt is ready, I pass it through the AI, which gives me a starting point. But that’s just the beginning. After that, I use a few key design tools to clean up the image, adjust the details, and make sure it’s exactly what you need.

This workflow allows me to deliver polished, ready-to-use images without wasting time. You get the best of both worlds: quick delivery and professional results, exactly as you need them.

Fast Techniques to Make AI Images Look Clean & Realistic

Minimalistic living room with soft natural lighting, showcasing a round concrete coffee table, a plant vase, and modern shelving with decorative objects.

When you’re working with AI-generated images, there are a few quick tricks I use to make them look more polished and realistic, without spending hours on edits.

Here’s what works:

● Use lighting and shadows to add depth.

A little light adjustment can go a long way in making the image feel real. Shadows and highlights help shape the scene and make it feel more grounded.

● Fix any distortions or mistakes.

Sometimes the AI doesn’t get everything right. Whether it’s proportions, colors, or other small details, I quickly fix those so the image doesn’t look off.

● Add texture and depth.

Adding small textures or depth can make the image pop. Whether it’s a little grain on a surface or a slight blur in the background, these details bring the image to life.

● Keep things consistent with your branding.

When I create multiple images for a client, I make sure everything matches the brand’s look and feel, so no matter where the images appear, they look like they belong together.

How I Can Help with Your AI Image Needs

A sleek computer setup displaying a 3D landscape editing program with a focus on precision, customization, and quality controls.

While you can absolutely create AI images on your own, there are plenty of reasons why it might make sense to let someone with experience handle it.

Here’s how I can help make the process smoother and the results better:

● Speed and accuracy.

I can get the job done faster because I know exactly what works. This way, you don’t waste time tweaking things that won’t quite hit the mark.

● Consistent quality.

Whether you need one image or several, I ensure everything matches your brand’s style and tone. Consistency is key, especially when you’re building a brand presence.

● Polished results.

While AI is a great start, there’s always a final step to make sure the image looks its best. I handle those final touches to make sure your images are crisp, clean, and professional.

● Branding that stands out.

I keep your brand’s vibe intact, so every image aligns with your colors, style, and messaging, making sure it all fits together perfectly.

Final Thoughts

Using AI tools combined with smart design techniques can completely change the way you create images. The best part? It’s faster, easier, and still gives you great results without a lot of time spent on edits.

Whether it’s a simple social media post, an eye-catching blog image, or something more complex, you can get high-quality visuals in no time with this process.

Frequently Asked Questions About Making AI Images

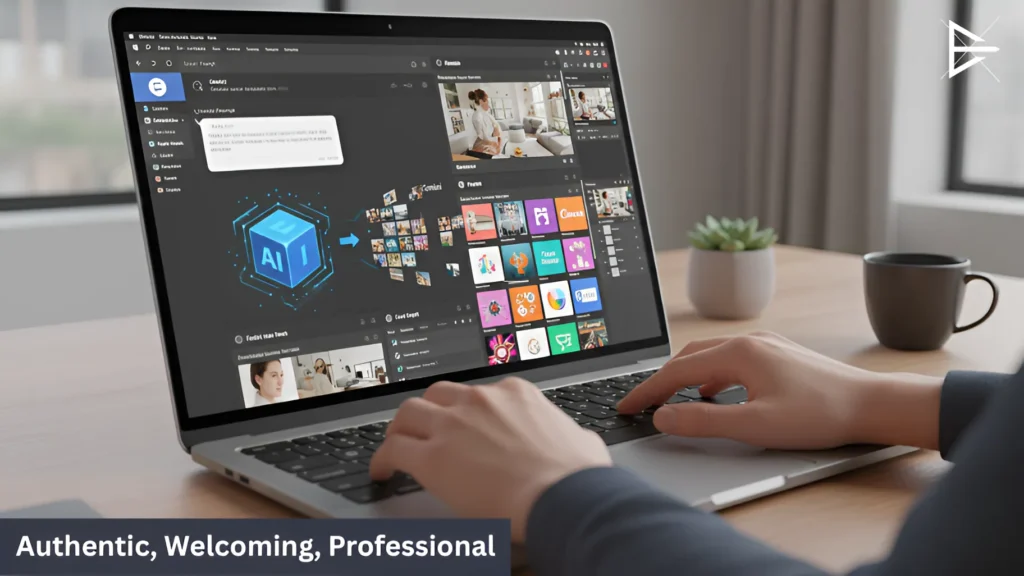
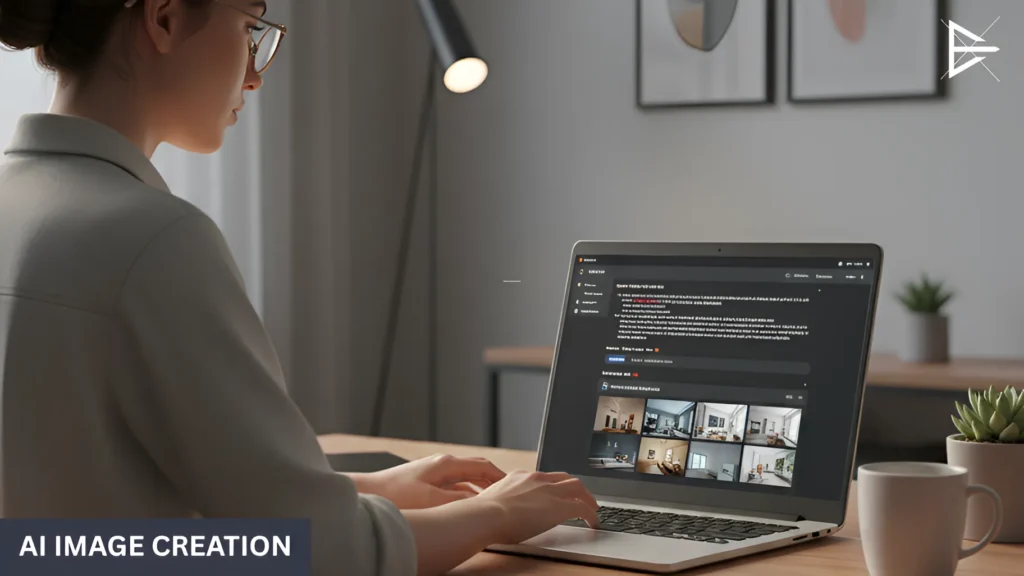
What is AI image creation, and how does it work?

AI image creation uses tools like Gemini to turn your text prompts into visual images. You provide a detailed description, and the AI generates the image based on that.

It speeds up the process significantly, making it much faster than traditional design methods. After the AI generates the image, additional design tools help fine-tune it, making sure it’s ready for professional use.

How does using AI tools like Gemini save time when creating images?

AI tools like Gemini take away the time-consuming parts of image creation. Instead of building an image from scratch, Gemini generates multiple variations of an image within seconds based on your description.

This allows you to get a solid base image quickly and then refine it with other tools, saving hours of work.

What are the steps involved in creating an AI-generated image?

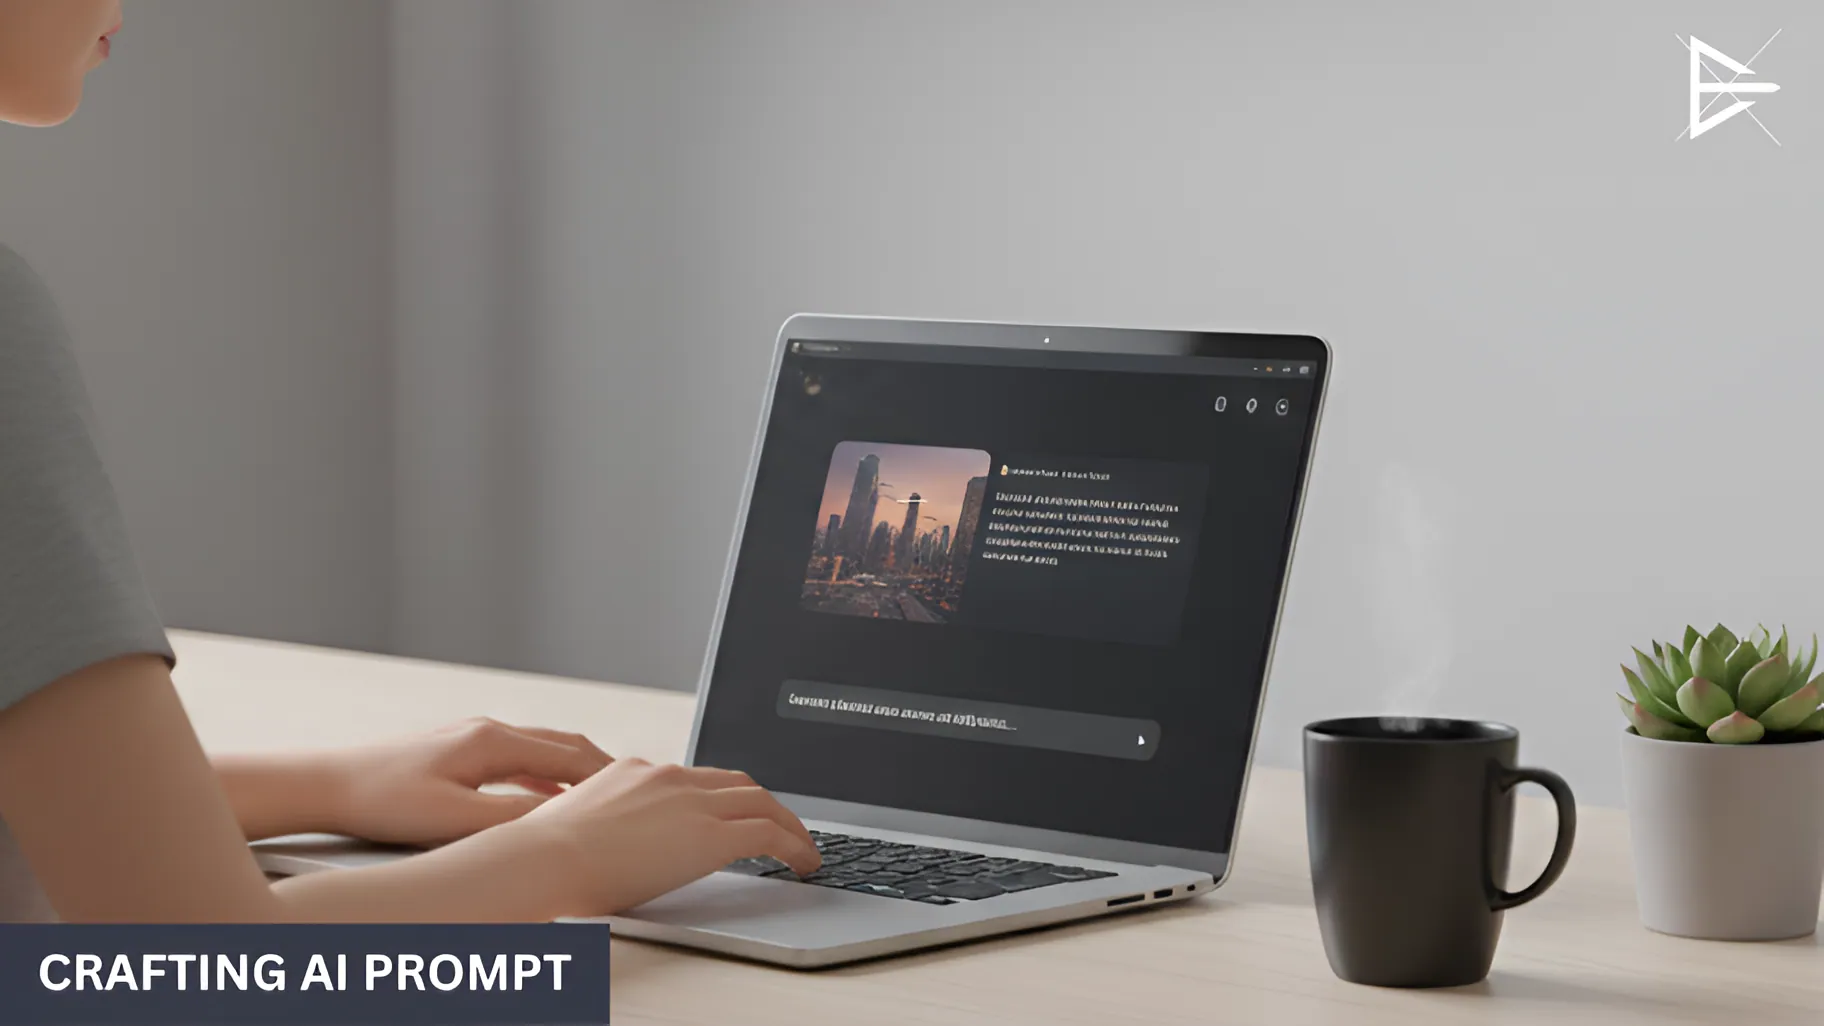
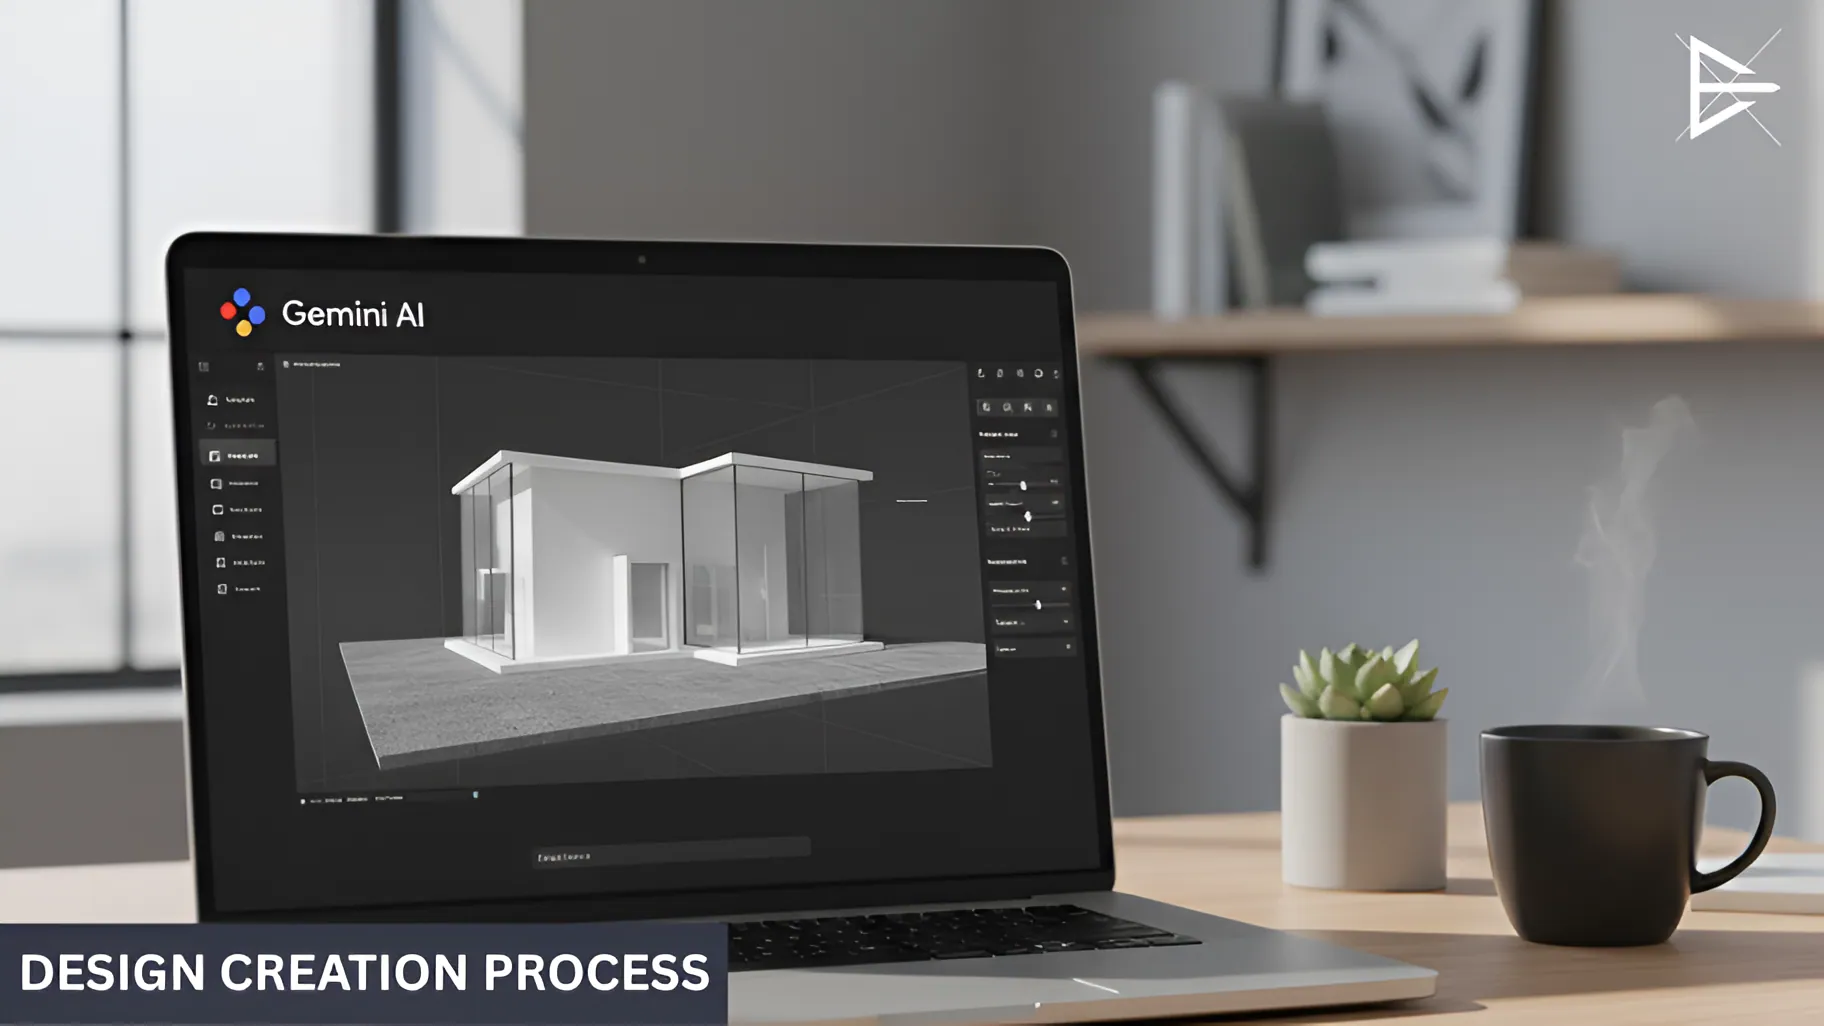
The process begins by defining your idea clearly. Once you know what you want, ChatGPT helps refine your idea into a detailed prompt. You then feed that prompt into Gemini, which generates the image.

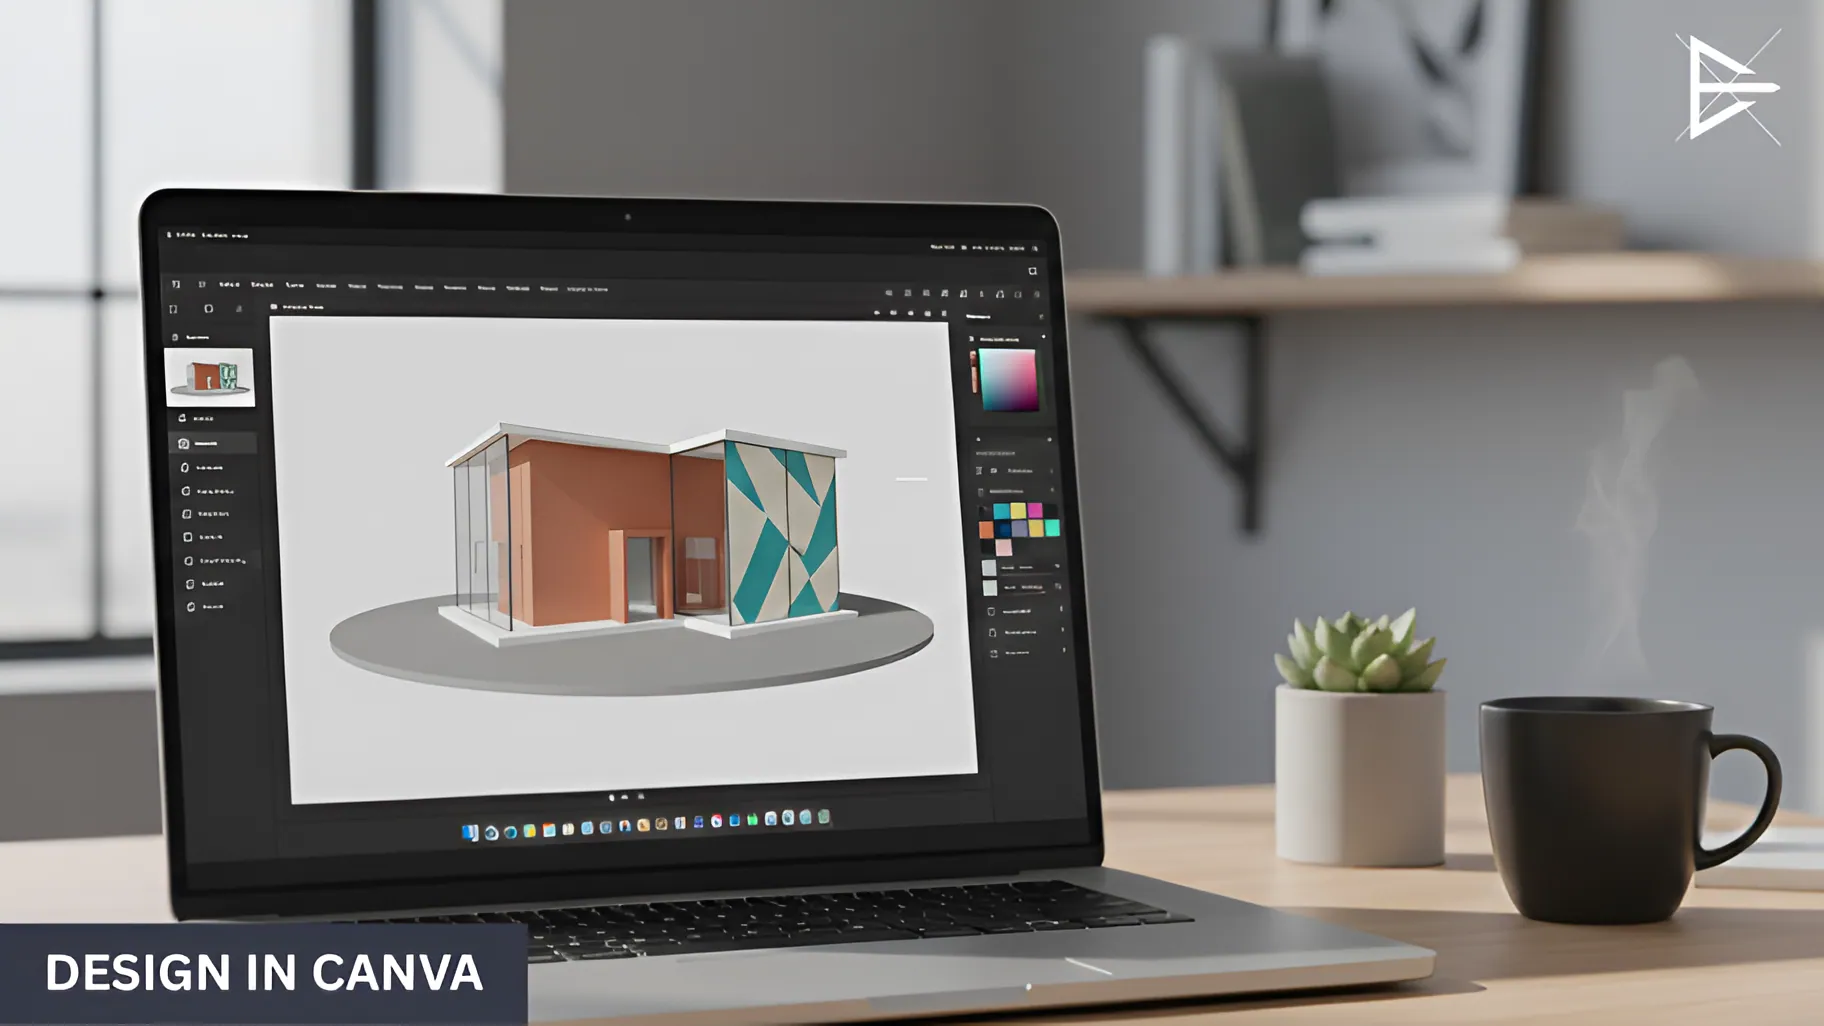
After that, I use Canva and Picsart for edits and adjustments, followed by Photoshop for fine-tuning the details, ensuring the image is polished and professional.

Why is having a clear image concept important for AI-generated images?

When you have a clear idea, the AI can create an image that aligns closely with your vision. Without a clear concept, the AI might produce results that aren’t quite right, forcing you to spend time making adjustments later.

A well-defined concept saves time and helps guide the AI in the right direction, resulting in a better image from the start.

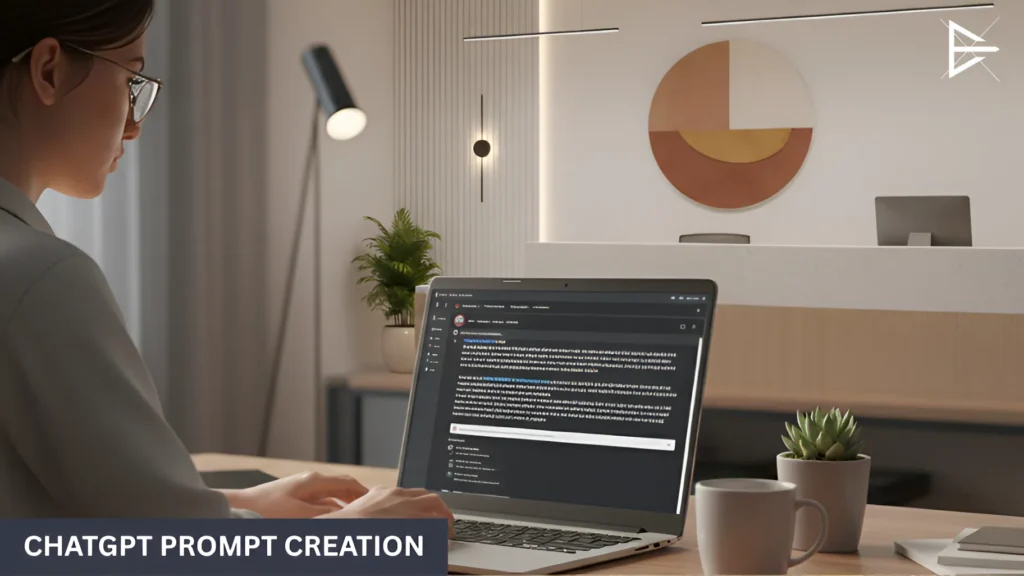
How does ChatGPT help with writing prompts for AI image generation?

ChatGPT refines your basic idea into a clear, detailed prompt that guides the AI. This ensures the AI generates the image you need, with the right details and style.

Instead of spending time writing out the perfect description, ChatGPT helps you craft the perfect prompt quickly, reducing revisions and speeding up the process.

Can I create high-quality images with just an AI tool like Gemini?

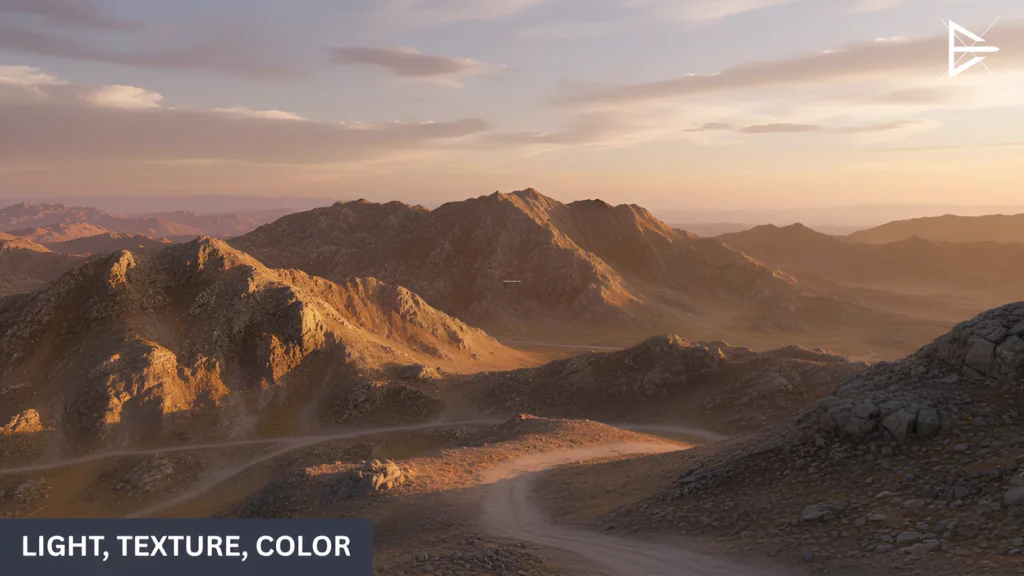
Gemini does a great job generating the base image, but it’s the refinement process that makes the image truly shine. While AI can get the image close to what you want, it often requires additional adjustments for lighting, texture, and overall polish.

Tools like Canva, Picsart, and Photoshop help give the image that final touch, making it high-quality and professional.

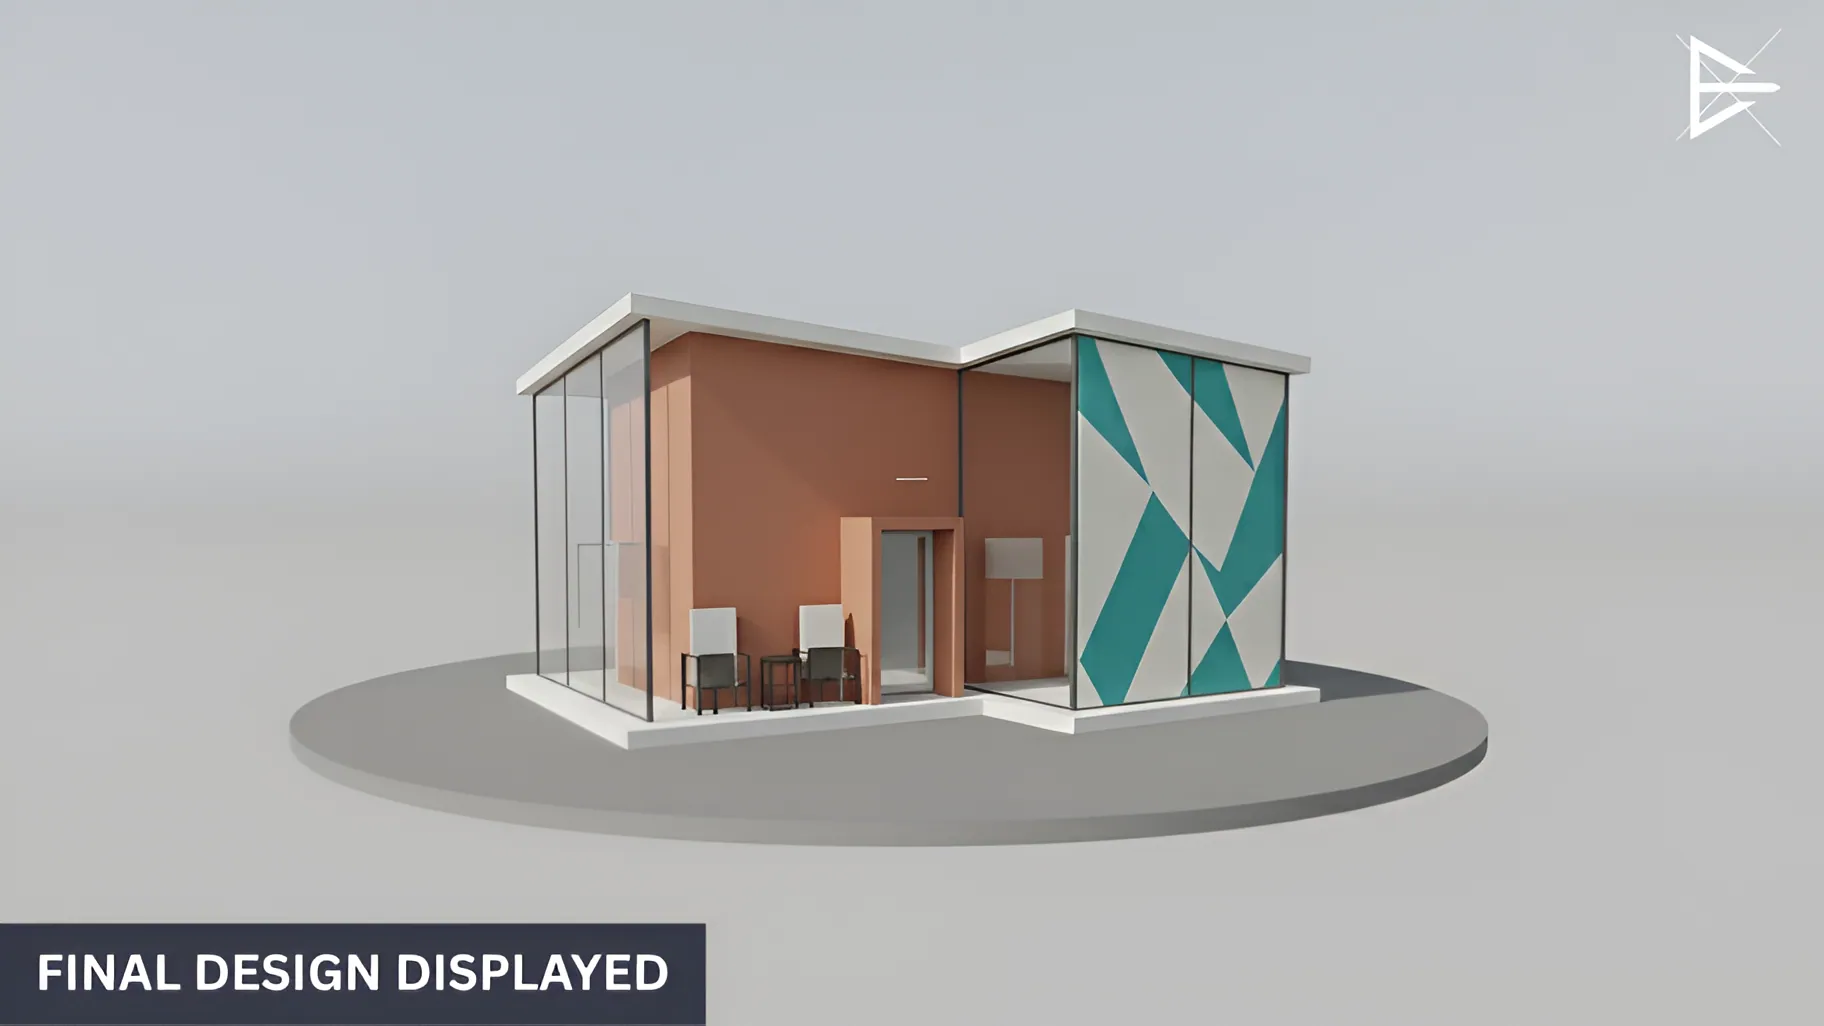
What’s the difference between the raw AI image and a polished, final image?

The raw AI image is like the first draft, it’s a starting point, but not quite ready for use in your project. It may lack proper lighting, shadows, or texture.

The polished final image has been refined, with lighting adjusted, colors corrected, and the image cleaned up to make it look professional. This process ensures the image fits your needs perfectly.

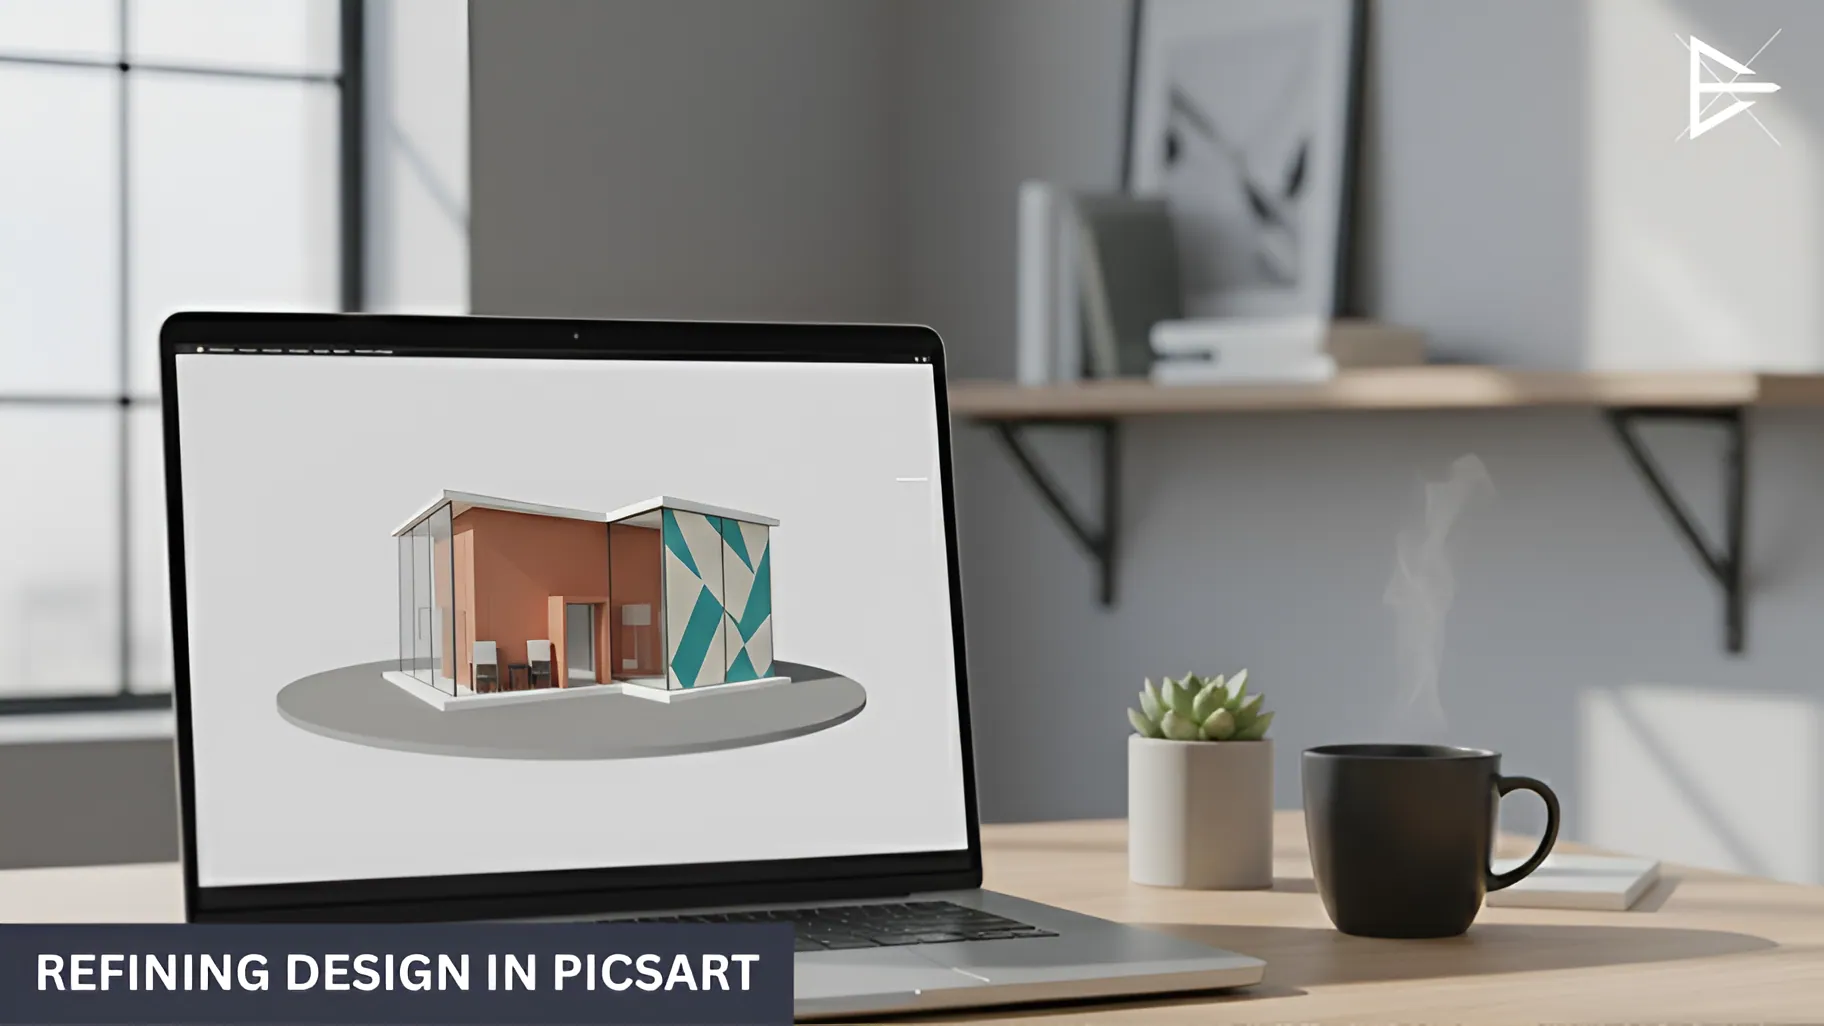
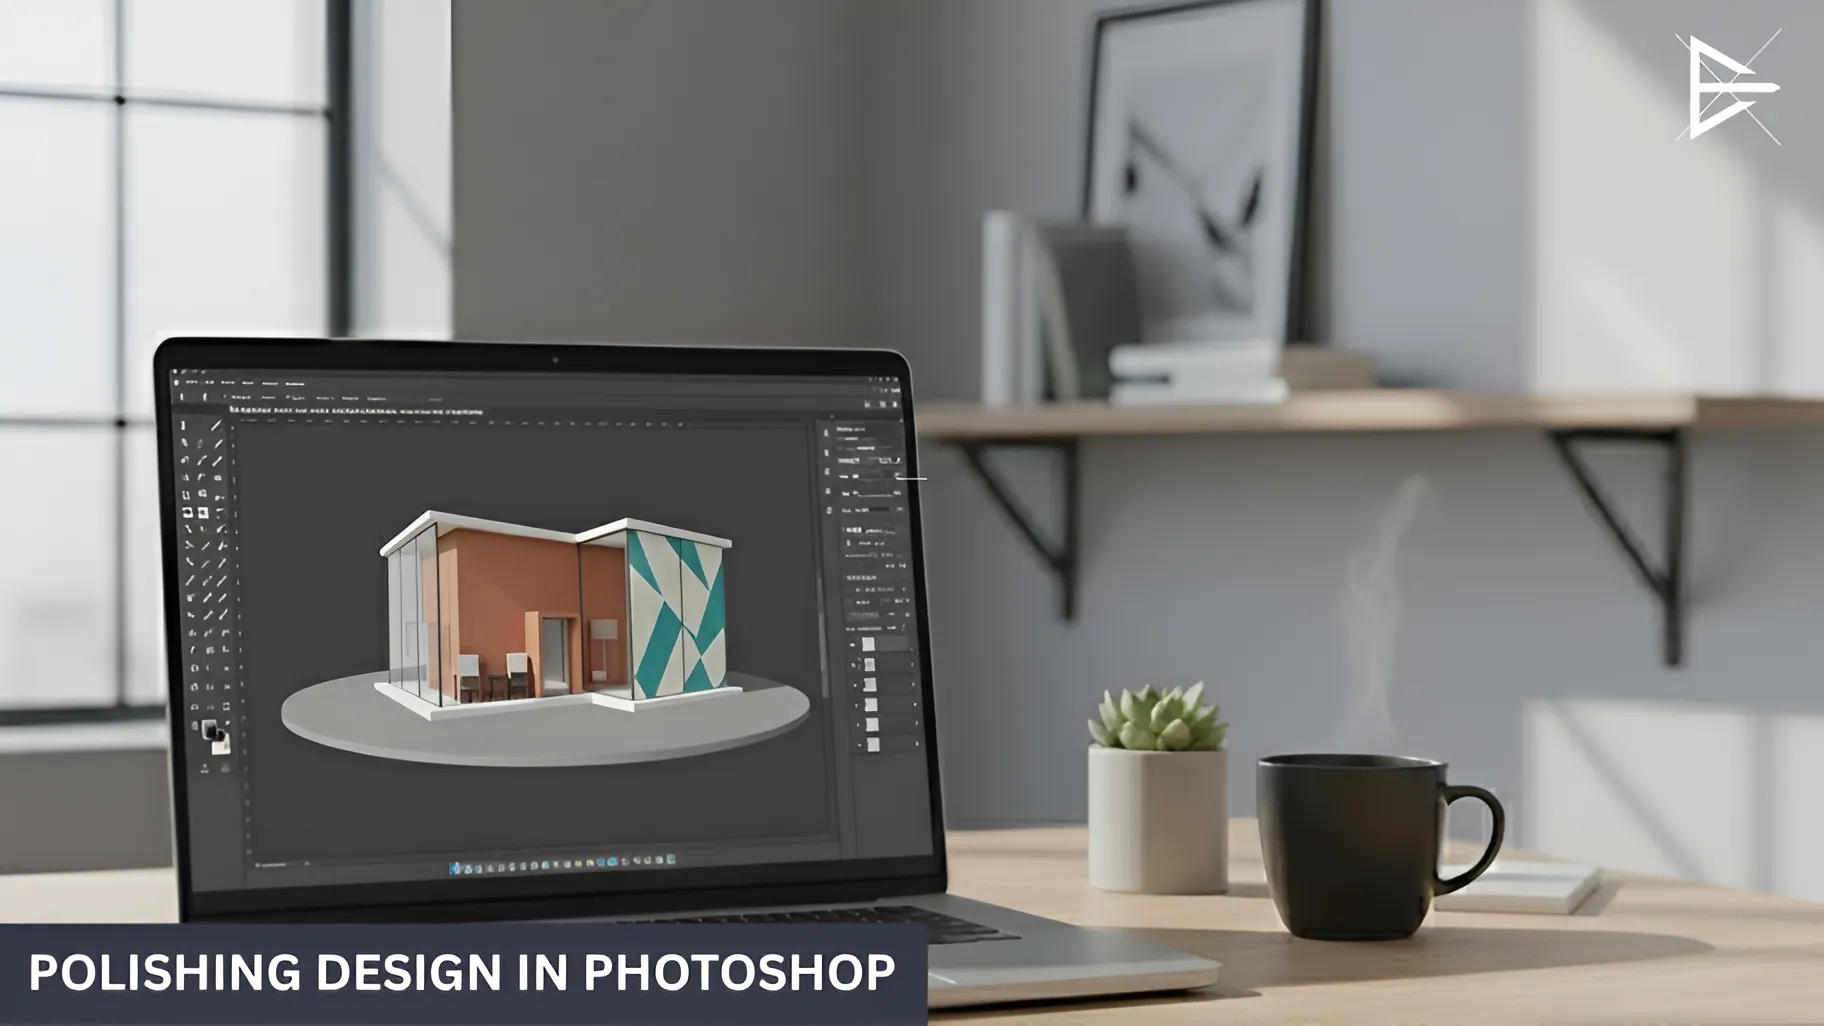
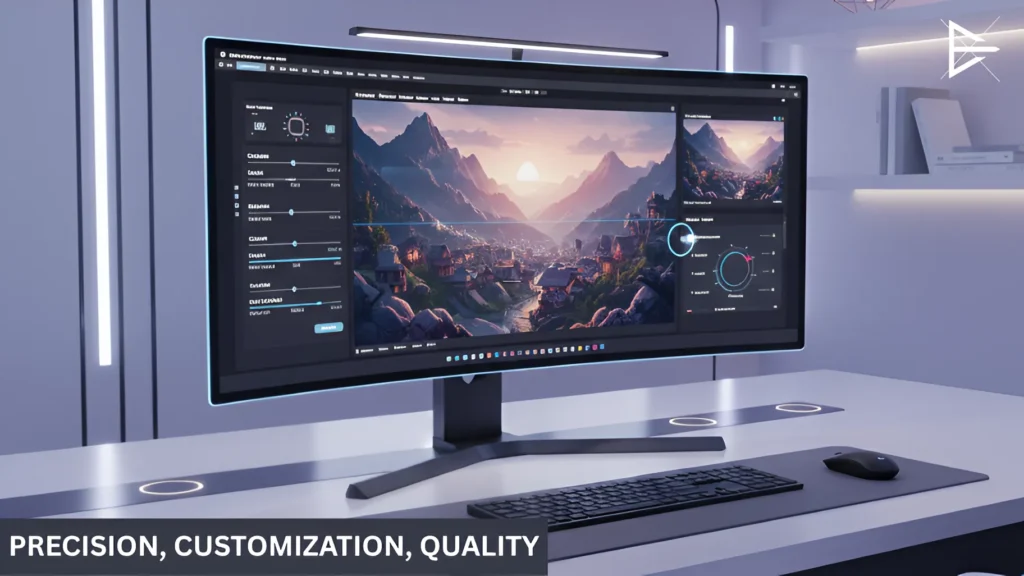
Why do you use Canva, Picsart, and Photoshop in your process?

Each of these tools serves a specific purpose:

● Canva is perfect for quick adjustments like resizing, adding text, or changing backgrounds.

● Picsart is used for refining details like correcting colors, removing elements, or enhancing textures.

● Photoshop is reserved for the final touches, where precise adjustments are needed for things like lighting and detailed texture work.

This combination ensures a fast process without compromising quality.

How do you adjust lighting and shadows to make AI images look more realistic?

Lighting and shadows are key to creating depth and making the image feel lifelike. I adjust the light source to highlight important elements of the image, while shadows are used to add depth and dimension.

These subtle tweaks help the image look more real, rather than flat or artificial, bringing it to life and making it visually engaging.

Can AI-generated images look as good as images created by a professional designer?

AI-generated images are a good starting point, but they usually need some adjustments to reach the same level of polish as images created by professional designers. While AI generates images quickly, the final details, like lighting, texture, and branding, need to be handled manually to make the image truly professional.

That’s where my design expertise comes in to elevate the image.

How do you make sure the final image matches the client’s brand?

I always start by understanding the client’s brand, colors, fonts, and tone. I make sure every image aligns with these brand elements, ensuring consistency across all visuals. Whether it’s tweaking the color palette or adjusting the overall style, I ensure the image fits seamlessly with the brand’s identity and messaging.

What are some examples of successful projects you’ve completed using this workflow?

I’ve used this workflow for a variety of projects, from e-commerce visuals to social media campaigns. For example, I created a series of product images for an online store, which helped boost their engagement on social media by 25%. This workflow allows for quick creation without sacrificing quality, helping clients achieve their marketing goals efficiently.

How quickly can I expect to receive the final images?

Thanks to the speed of AI tools, I can usually deliver images within 1-2 days for simpler projects. More complex images might take a little longer, but I aim for quick turnaround times without compromising quality. The key is efficiency—getting you the visuals you need as fast as possible.

Can you help me with specific image types, like social media posts or blog headers?

Yes! I specialize in creating images for all kinds of platforms, social media, blog headers, advertisements, and more. I tailor each image to fit the platform’s requirements and ensure the style is consistent with your branding. Whether it’s a quick social post or a detailed blog image, I’ll make sure it fits perfectly with your content.

What’s the difference between DIY image creation and using a professional service like yours?

DIY image creation can be fun but often takes longer and results in images that aren’t quite perfect. With my professional service, I speed up the process, ensuring the final image is high-quality, polished, and fits your brand. You don’t have to deal with learning design tools or making corrections later, just let me handle it for you.

Do I need to know how to use design tools, or can you handle everything?

You don’t need to worry about design tools! I handle everything, from the initial idea to the final image. I’ll take care of the prompts, adjustments, and final polish, so you can focus on what matters most, your business or content.

How do you ensure that each AI-generated image meets my brand’s style and tone?

Before starting, I make sure to understand your brand’s guidelines. I adjust the image’s colors, tone, and style to match your brand’s identity. Whether it’s the mood of the image or the finer details like font and layout, I ensure that the final result feels cohesive with your overall marketing strategy.

Is the AI-generated image you provide editable if I want to make changes later?

Yes! I provide images in formats that are easy to edit, so if you need to make adjustments later—whether it’s changing text, colors, or details, you can do so quickly without starting from scratch.

How can I get started with your AI image creation services?

Getting started is easy. Just send me a description of what you need, and I’ll help guide you through the process. We’ll discuss your project in detail, and I’ll take care of the rest—from the first draft to the final polished image, delivered quickly.

What sets your AI image creation process apart from others?

My process combines the speed of AI with the precision of professional design tools. While AI tools generate images quickly, I add the final touch that makes them polished and ready to use. This ensures you get high-quality results without the long wait time usually associated with traditional design work.

About the Author

Harvie Ken Colonia

Hi, I’m Harvie!

I got my start in 2019 when I discovered how SEO and web management can help businesses grow online.

Over time, I’ve become just as passionate about using AI to create visuals. It’s amazing how AI can turn simple descriptions into stunning images, saving time and making it easier to bring ideas to life.

If you’ve ever struggled with finding the right image for your blog or social media, I get it. AI is a great solution to help businesses create images that stand out without needing advanced design skills.

If you’re interested in creating images that truly fit your needs, let’s chat. I can help you get high-quality visuals with AI, customized just for you.